Oh, it’s been a long time since the last post! Not due to lack of baking, but rather due to lack of technology. My computer is on it’s last legs and prefers to sit on a shelf rather than being used. Having rearranged some of our rooms and created a zone for a family computer I now have better access – that is when the kids aren’t using it!
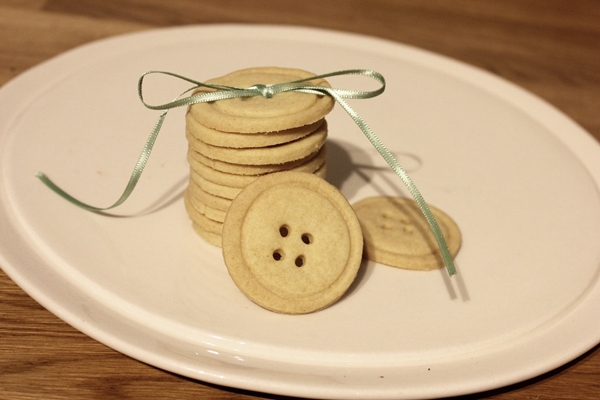
The other week my daughter’s class was having a leaving party for their teacher who was going on maternity leave. They had all been asked to bring in some treats and we made these little cute button cookies for her to bring in.
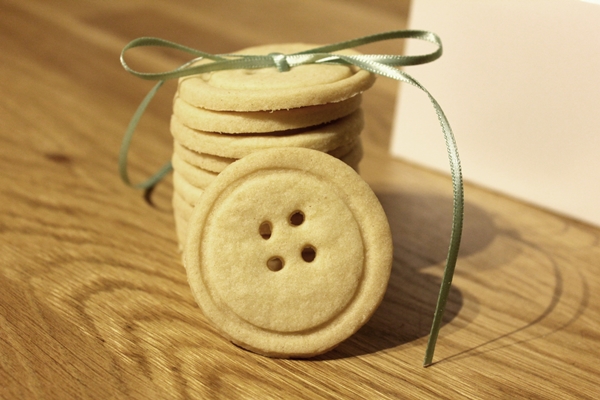
Button cookies
Ingredients
100g Icing sugar
200g Butter
300g Plain flour
0.5 tsp Vanilla extract
Other Equipment
2 small cookie cutters of different size, or one cookie cutter and one bottle lid (such as a milk bottle lid)
Plastic straws
Method
1. Preheat the oven to 150C
2. Cream butter, icing sugar and vanilla extract.
3. Fold in the flour until the dough holds together, taking care not to over-mix it
4. Roll out the dough on a lightly floured work surface until about half a centimeter thick.
5. Cut out rounds using the larger of the cookie cutters, place on a lined baking tray.
6. Press the smaller cookie cutter/bottle lid to make an indentation on the cookie, use equal pressure to get an even circle and take care not to press too hard so it cuts through.
7. Using the straw, make 2 or 4 holes in the centre of the cookie. Twist the straw when pressing down to ensure the dough in the hole comes out clean. Use a skewer to clean out the straw from time to time or cut the straw to remove any dough stuck in it.
8. Bake for 15-20 minutes, until the edges turn lightly golden.
9. Cool on a rack and store in an air tight tin.