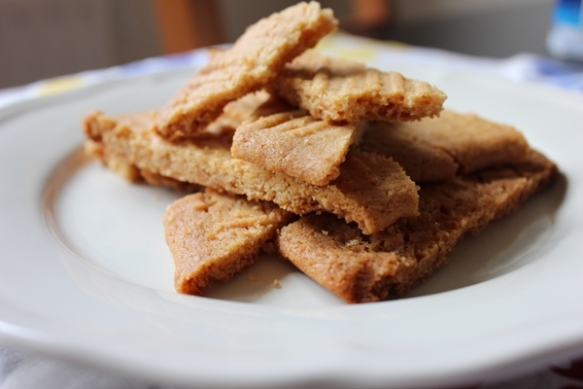
Toffee Biscuits

Sometimes you get a bit fed up with all the fancy cupcakes, whoopie pies, macarons and whatever else that’s currently all the rage, and want something more traditional.

I haven’t had these for years, but then my mum made this for a bake sale at my oldest summer camp during the summer and I suddenly remembered how yummy they are! I have since made them again and they turned out a hit with whoever tasted them. Toffee biscuits
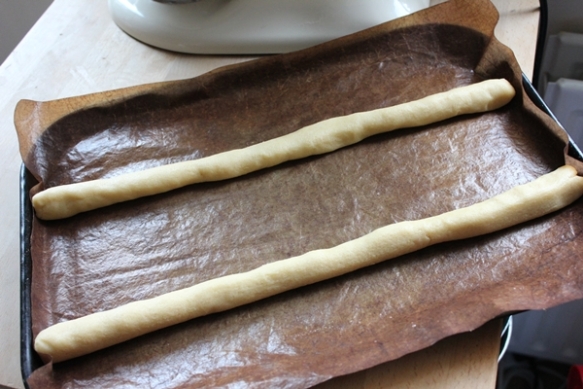
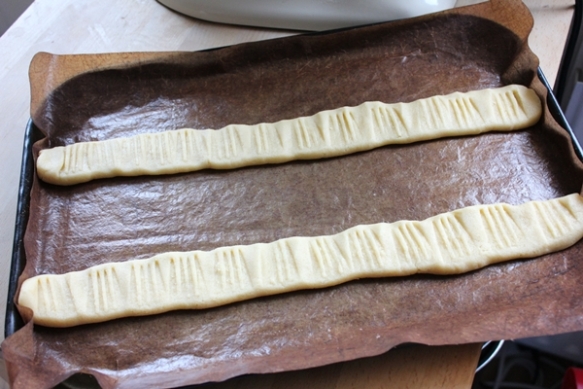
They are incredibly easy to make, just mix together all the ingredients, roll out into two long thin rolls and then flatten.

Toffee biscuit rolls

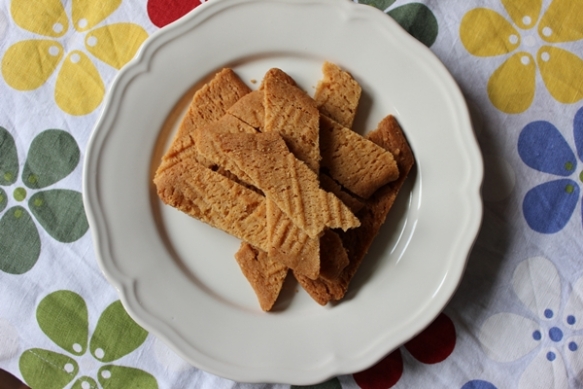
To get a bit of a pattern on them I then press with a fork all over.Toffee biscuit - ready for the oven
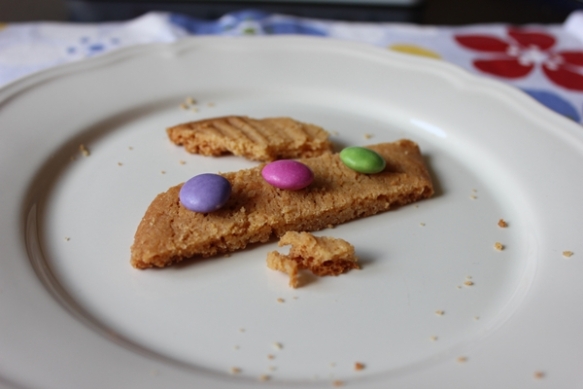
Some may find they look a bit boring plain, so if you want to jazz them up a bit drizzle them with melted chocolate once they have cooled. I’d probably use dark chocolate, or possibly white, or why not both if you are feeling extravagant! For the kids bake sale we decorated them with smarties which went down a treat!

Toffee biscuits with smarties

Toffee biscuits

Ingredients
100 gram butter, room temperatured
100 ml sugar
0.5 tsp vanilla extract
250 ml plain flour
1 tbsp golden syrup
a pinch of salt
1 tsp baking powder

Method
1) Preheat the oven to 175C
2) Beat  the butter and sugar until pale and fluffy
3) Mix in the rest of the ingredients
4) Divide the pastry dough into two equal parts and roll out into two long thin rolls.
5) Place on a baking tray, flatten the rolls, first with your hands or the back of a spoon and then with a fork to create a pattern
4)  Bake for about 12 minutes, until golden. Cut diagonally while still hot (or they will crumble when cutting them!)
5) Store in an airtight tin
Toffee biscuits

Instant breakfast rolls

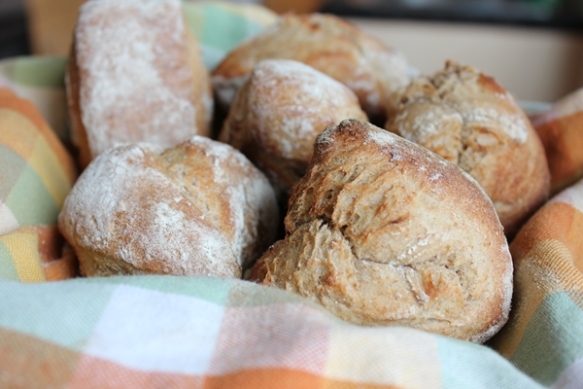
Well, not entirely instant, but as the dough is proved overnight in the fridge and minimum kneading is involved, it is possible to have delicious bread in the space of about 30 minutes in the morning. And is there anything better than the smell of fresh bread?! (Possibly the smell of a chocolate cake baking! 😉 )

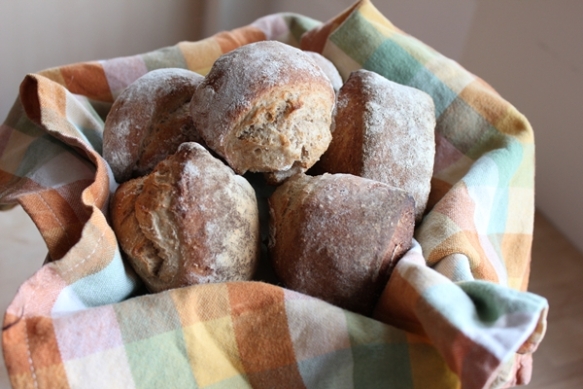
Overnight breakfast rolls

I discovered yesterday evening that we were running very low on bread and as it was getting too late to start baking traditional bread for the kids lunch boxes at the time, I decided to try to bake an ‘overnight bread’ instead. After some googling I decided to (loosely) follow a recipe by bread-blogging veteran Pain de Martin, a Swedish blogger (don’t be fooled by the French name) who has published three bread books. He calls this ‘a bread anyone can make’ and it certainly is. The ingredients are stirred together then left to prove in the fridge overnight. Then, in the morning, it is quickly shaped and allowed to rise a little bit more while waiting for the oven to heat up before baking them.

Longer proving times generally improves the taste of the bread, and this bread is truly delicious, so go on – give it a go!

Overnight bread

Overnight breakfast rolls

Ingredients
400 ml water (room temperatured)
1 tsp fast action dry yeast
450 ml strong bread flour
300 ml rye flour
1 tsp salt
1 tbsp golden syrup or honey

Method
1) In the evening, mix all the ingredients into a sticky dough
2) Place the dough in a bowl and cover with cling film. Place in the fridge.
3) In the morning, put the dough on a well floured board, stretch it out to about 10×40 cm rectangle. Fold the dough in half lengthwise, to about 5×40 cm,  then cut it into small squares, about 5×5 cm
4) Place on a baking tray and leave to rise while the oven heats up. Turn the oven on to 275C (or as hot as it gets)
5) Bake for 10-15 minutes

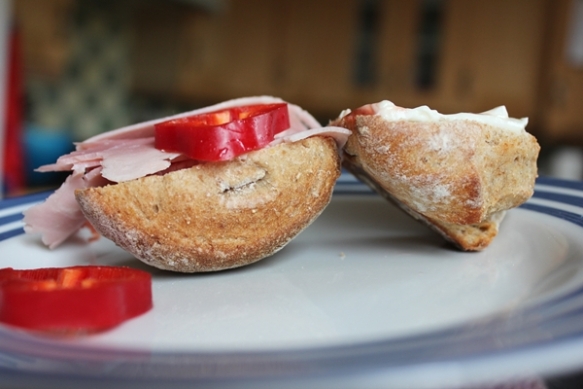
Overnight breakfast roll

Adapted from Pain the Martin’s Easiest Breakfast Rolls (Note – the recipe is in Swedish)

Apple and Blackberry Crumble

Autumn is here! Earlier than usual it seems, we’re only half way through September for crying out loud – where’s the Indian summer I was hoping for?! But with temperatures only reaching 15C (if you’re lucky!), blustery winds and pouring rain, autumn is definitely here.

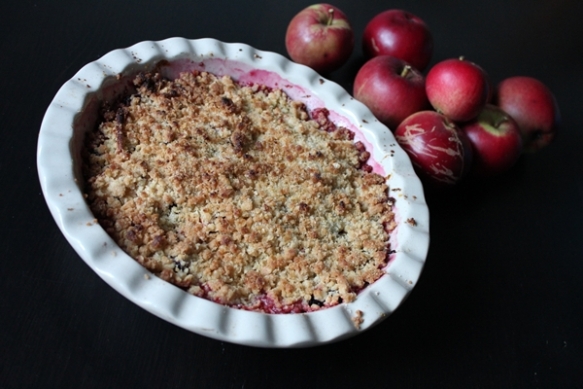
However, it’s not all bad. Although most of the summer rained away there is still plenty of fruit and berries around to brighten up the days. Crisp apples and juicy blackberries for instance. And for those rainy days, a crumble always lightens the mood. This year we had a bumper crop on our little apple tree, the branches were almost touching the ground under the weight of all the apples – it got significantly taller after having picked most of them off. There are also plenty of blackberries in the hedgerows around here, so I made the first (hopefully of many) crumbles this autumn.

Apple and blackberry crumble

Apple and Blackberry Crumble

Filling
3-5 apples
400g blackberries
100ml sugar
a dusting of cinnamon (optional)
1 tbsp potato flour or corn flour (optional)

Crumble
50g butter
100ml plain flour
100ml oats
50ml sugar

Method
1) Preheat the oven to 225C
2) Peel, core and chop the apples into thin slices.
3) Layer the apples, blackberries, sugar and cinnamon (if using) in a pie dish.
4) Rub the flour into the flour, oats and sugar until it resembles breadcrumbs.
5) Sprinkle the crumble topping evenly over the fruit.
6) Bake for 20 mins, or until the crumble topping is golden and fruit is bubbling.

Enjoy!

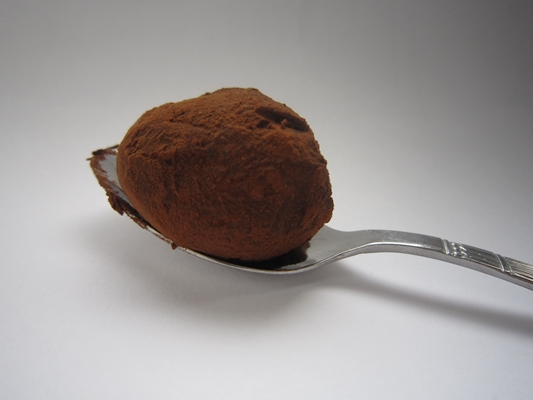
Salted caramel chocolate truffles

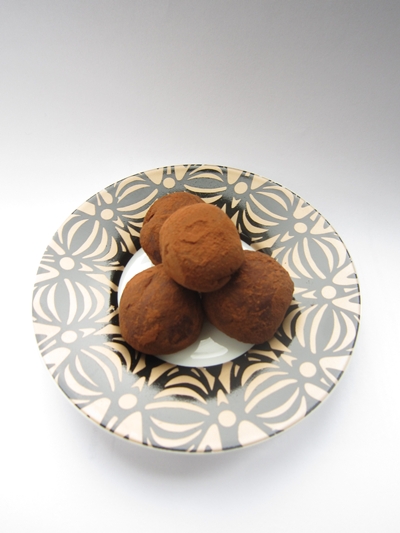
For our recent anniversary I decided to make chocolate truffles, but not any old truffles, but salted caramel ones. I love the combination of sweet caramel, rich chocolate and a touch of saltiness. These are very easy to make as you don’t need to make the caramel but instead use a bar of caramel flavoured chocolate. It’s important to note though that it needs to be chocolate with crunchy pieces of caramel and not a smooth soft centred version, as you need the contrast of sweet crunch from the caramel and salty crunch from the salt flakes in the truffles.

Salted caramel truffles

I have made these before but I had forgotten how soft they turn out. They are still delicious though!

Salted caramel truffles

Ingredients
100g good quality chocolate with crunchy caramel pieces (I used Green & Black’s Butterscotch)
50 ml double or whipping cream
1 tbsp liquid glucose
25 g unsalted butter
1/4 tsp flaky sea salt
4-5 tbsp cocoa powder, for dusting

Method
1) Break up the chocolate into small pieces and cut up the butter into smallish pieces.
2) Put the chocolate, cream, liquid glucose and butter in a bowl and place over a pan of simmering water. Gently melt, stirring occasional, until the mixture is smooth and combined.
3) Leave to cool, then mix in the sea salt. Cover and chill overnight.
4) Scoop out about a teaspoon of the mixture and form into balls. (Ensure your hands are cool to not melt the mixture too much)
5) Put the cocoa powder into a bowl and roll the truffles in the cocoa powder until fully coated
6) Keep chilled until ready to serve.

Salted caramel truffle


Adapted from Sainsbury’s Magazine